rise up and bake

OMG I LOVE FOOD SO MUCH!

let them eat bread (lasagna) June 9, 2009

Filed under: baking,home cooked — katrinacake @ 7:29 pm
Tags: , , , , , , , , , , ,

if you’re anything like me, you always have masses of bread sitting around that gets thrown out (thank you crispy inn!). it seems like i have to dispose of half a loaf of bread at least once a week! such a shame! one yummy thing to do with bread is bread and butter pudding. another winter fave is croutons. but there’s only so far that will take you!

when i saw the rustic bread and eggplant lasagna on vegan yum yum i was quite excited! i never make lasagna because a) i am too lazy to make my own pasta sheets, b) i never have the pre-made pasta sheets in my cupboard, c) the once occasion i DID have them it took me literally three months to get around to creating lasagna.

inspired by ben’s fabbo efforts at making “meaty” lasagna a couple of weeks ago, the addition of cheese sauce was a must for my culinary satisfaction. contrary to my expectation, the bread didn’t go soggy at all! i used quite a thick tomato sauce which presumably helped.

lazy bread lasagna
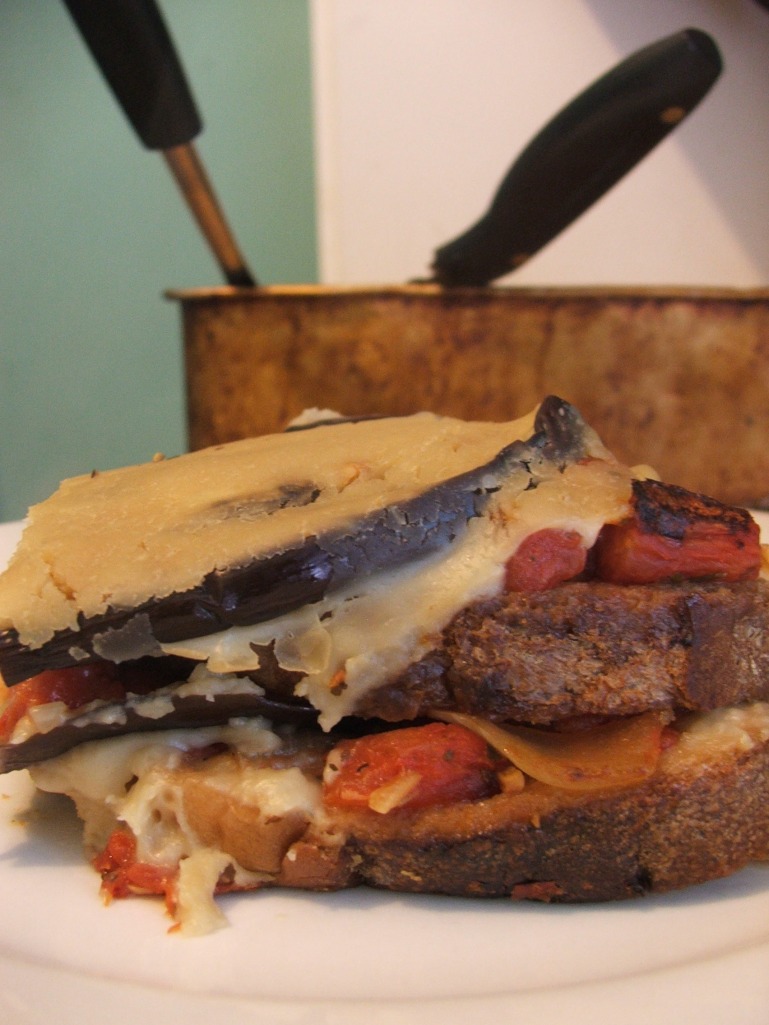
DSCF3527

ingredients

  • stale bread (about half a loaf of the nice crusty stuff)
  • a big eggplant or two
  • olive oil (plenty!)
  • two cans tomato (diced or crushed)
  • a brown onion
  • half a head of garlic
  • italian” herbs (basil, thyme, oregano, etc)
  • one cup white flour
  • three big desert spoons of nuttlex / vegan margarine
  • two cups soy milk
  • one cup nutritional yeast flakes
  • two desert spoons tahini
  • a teaspoon of mustard (not the seedy type)
  • juice of half a lemon
  • salt (to taste)
  • some fried garlic (optional)
  • cracked pepper

equipment

  • shallow baking pan
  • large deep fry pan
  • saucepan
  • lasagne dish (i used a square one)
  • chopping board and knife
  • veggie peeler (if you like)

this takes a little co-ordination, so it’s good to have a little think about how long things take so it all comes together!

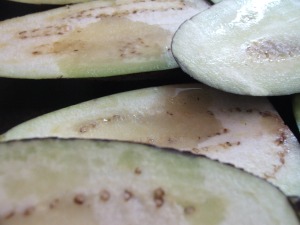
1. pre-heat oven to 180 degrees.peel the skin off the eggplant/s – i like to leave it on – and slice the eggplant into 1cm-ish slices. dizzle in oil and place in the baking pan. bake for 20 mins or so.
DSCF3471

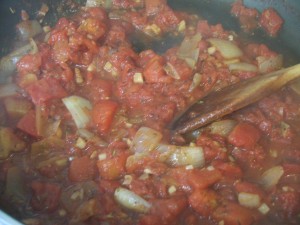
2. dice the onion and saute in some olive oil until translucent. add in the garlic and herbs, and saute for a further 2 minutes. mix in the two cans of tomato and simmer on a low heat. the aim is to reduce the sauce until it’s nice and thick.
DSCF3494

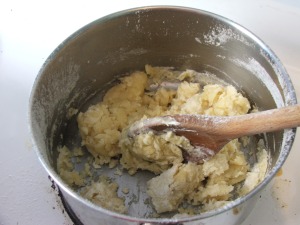
3. whilst the tomato sauce simmers, it’s time to make some “cheesy” white sauce! melt the margarine in a saucepan. sift in the flour. it will look really lumpy and thick – this is ok!
DSCF3487

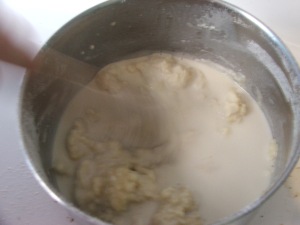
4. add the soy milk, half a cup at a time, stirring constantly. let the mixture slowly heat up and combine before adding more milk. don’t panic – it’ll come together just nicely!
DSCF3489

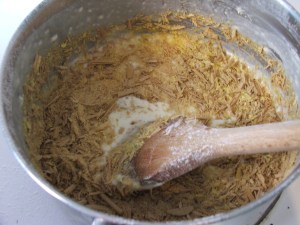
5. once the soy milk is combined, add in the nutritional yeast flakes. you may need to use the back of the wooden spoon to crush any large bits into the mixture.
DSCF3491

6. stir in the mustard, tahini, lemon juice and salt. adjust salt to taste. once the sauce reaches the desired thickness (should be pourable, but not runny), take it off the heat.

7. by now the eggplant should be baked thoroughly. take it out of the oven and let it sit for five minutes. in the meantime, slice the bread into 1cm slices. now we’re ready to get layering!

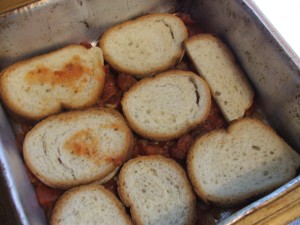
8. spread a thin layer of tomato over the bottom of the pan, and cover with a layer of bread. try and cover most the the pan – you may need to cut some bread slices in half to make them fit better.
DSCF3502

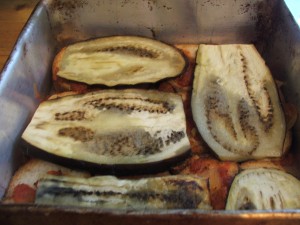
9. spread another layer of the tomato sauce and cover with eggplant slices.
DSCF3507

10. repeat, layering tomato sauce, then bread, then the last of the tomato and the remaining eggplant. if you are a garlic fiend like me, sprinkle some fried garlic over the last layer of eggplant.
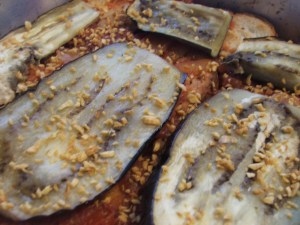
DSCF3511

11. cover the lasagne with the cheese sauce. don’t be shy – make it nice and thick! sprinkle with cracked pepper for a little extra kick. bake for half an hour, or until the top is nice and crispy.
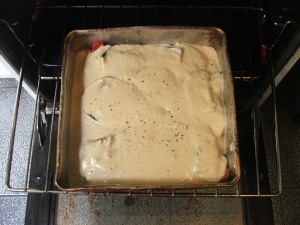
DSCF3518

12. serve and enjoy!

DSCF3524

variations:

  • breads – this would work nicely with any sort of crusty bread, sourdough or pumpkin loaf is what i’d like to try next.
  • add some different veggies – baked capsicum, mushrooms, sundried tomatoes or whole tomato slices
  • crush some nuts (e.g. pine nuts or almonds) and sprinkle on top of the cheese sauce for a crunchy topping
  • add herbs / spices to the cheese sauce for an extra lift!
 

it’s always time for soup! June 4, 2009

Filed under: home cooked — katrinacake @ 11:11 am
Tags: , , , , , , ,

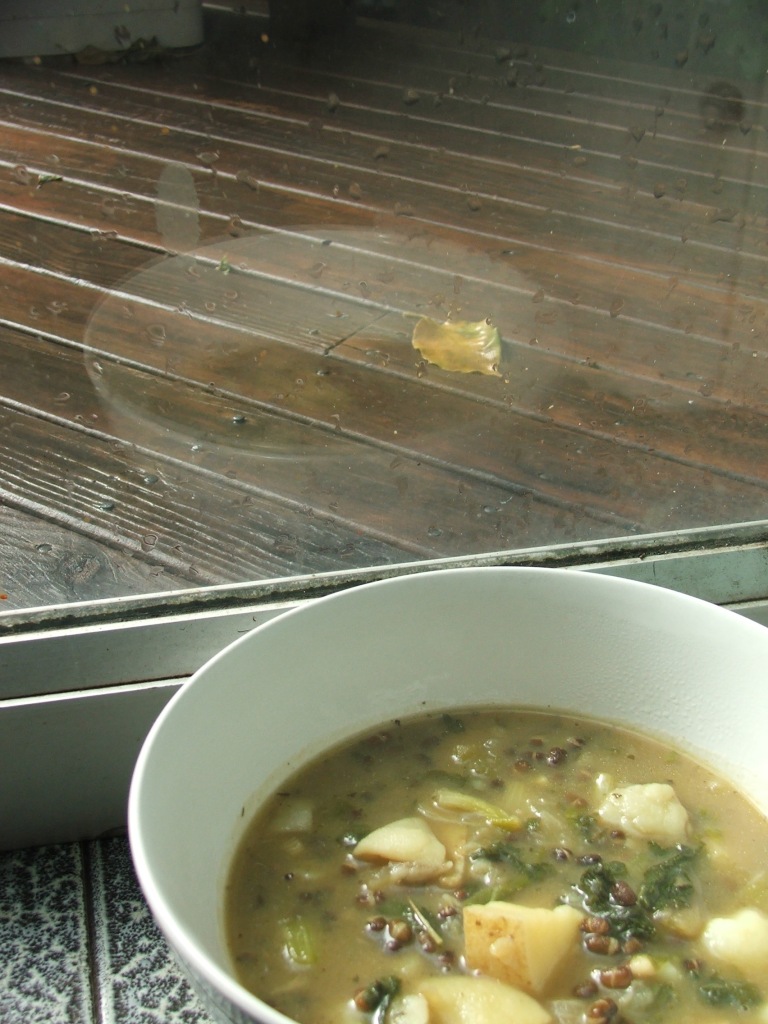
inspired by the lovely pip, i made a hearty minty soup! her’s was from the handy vegan on a shoestring, a book i don’t personally own but have perused on a few occasions.

luckily  i had a huge bunch of garden fresh mint. alas, i was sorely lacking in other ingredients.  instead of chickpeas i used black dahl lentils which had been soaking overnight, i had no mushies, and the only greens in the fridge were a couple of bok choy bulbs.

despite this, it turned out fabulously (although a little salty says steph). the kick of lime really set it off for me. lime and mint are just natural friends!

minty winter warmer

ingredients:

  • one onion, diced
  • 6 cloves of garlic, chopped
  • 2 cups soaked black lentils, rinsed
  • 3 medium potatoes, cubed
  • two bok choy bulbs, thinly sliced
  • one lemon or lime
  • half cup chopped mint
  • teaspoon of cumin (maybe more?)
  • 4 cups vegetable stock

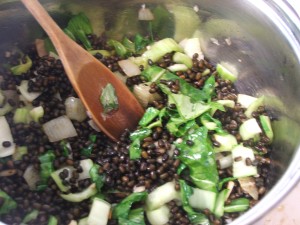
this is so simple to make! saute the onions, throw in the garlic and cumin. add in the bok choy and lentils, and stir the flavours through.

DSCF3445

pour in the veggie stock, the potatoes, and chopped mint. bring to the boil, then simmer for a half hour or so (until the taters and lentils are nicely mushy). when it’s cooked through to your satisfaction, stir in the juice on the lemon / lime and allow to sit for 5 minutes.

DSCF3450

[this is a good juncture at which to warm some bread.]

DSCF3461

voila! tuck in!

as a side note, all this miserable weather is a fabulous excuse to rug-up inside and cook, cook, cook!

NOTE:

upon re-reading pip’s post, it seems i left out the vital “creaminess/cheesyness” of nutritional yeast flakes! argh! was still tasty!


my dear basil May 18, 2009

as the warmer weather disappears, we begin to mourn the end of the basil season. i know that we’re supposed to appreciate each season for it’s diversity of produce, and the cooking combinations this provides, BUT i really love basil! i try and use it in everything – stir fries, pasta sauces, gnocchi, salads, sandwiches, and most of all, pesto!

i was taught to make pesto by my father, whom himself is famous within our extended family for the tasty pesto he produces every year for family gatherings. the best part of pesto is the brilliant simplicity of it! just good fresh ingredients which tantalise the taste-buds. quite a simple one to vegan-ise as well.

because the recipe already contains pine nuts, it’s got a natural creaminess that’s unaided by cows cheese. in the absence of parmesan cheese, a little extra garlic will give this pesto nice “bite”, and some nutritional yeast flakes add to the “cheesy-ness”.

i am guessing about quantities of liquids, so really have a play around and get a feel for the taste that you prefer. i’m a salt fiend, so i always go a little crazy with it and need to add a little extra tahini and lemon juice to balance it out.

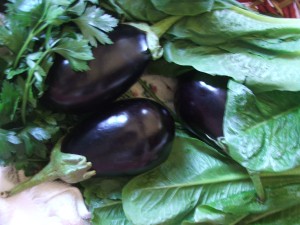
garden fresh ingredients (thanks anya!):

DSCF2600

basil pesto

ingredients

  • large bunch of fresh basil, rinsed
  • one head of garlic
  • good quality olive oil, as required
  • 3 tablespoons tahini
  • half a cup of pine nuts
  • salt and black pepper to taste
  • juice of a medium sized lemon
  • 1/3 cup nutritional yeast flakes

to make:

  1. peel garlic and place in food processor. cover with olive oil and blend into a paste.
  2. add in all the basil leaves, a little more olive oil, and whizz again.
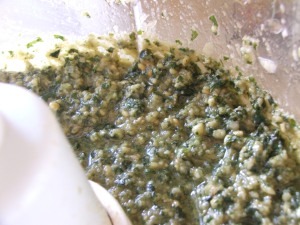
  3. place the tahini, lemon juice, pine nuts and nutritional yeast flakes into the mix, and blend until combined. it should look quite chunky, but thickly pourable. carefully add little bits of oil until you achieve the right consistency.
  4. add salt and pepper to taste.
  5. eat immediately, or transfer into an airtight container (jars are good for this) and refrigerate. if you plan to store it for a while, pour a very thin layer of oil over the top to help maintain freshness.

DSCF2602

ways to serve:

  1. on hot pasta or gnocchi.
  2. as a pasta salad.
  3. on yummy crusty bread – as an entree, a snack or with other toppings (e.g. garlic mushrooms or baked beans)
  4. as part of an anti-pasto platter with grilled eggplant, olives, tofetta, etc
 

stuffed baked potatoes with roasted garlic humous and other deliciousness May 12, 2009

Filed under: baking,home cooked — katrinacake @ 11:19 pm
Tags: , , , , , , , , ,

oh whow!!!

i have never had a stuffed baked potato before, probably because i have never enjoyed sour cream and it seems to be a kinda vital ingredient. i got a couple of MASSIVE taters yesterday, so i thought i would give this a try and HOLY CRAP it was so tasty!

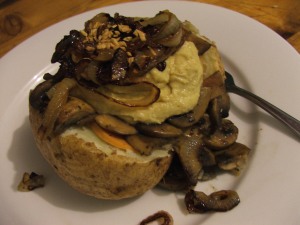
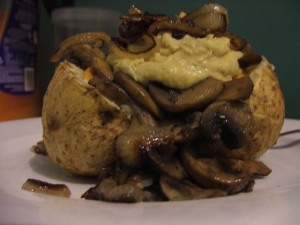
i topped mine with soy cheese (that nice nacho flavour of cheesly), sauteed mushrooms, roasted garlic humous and caramelised onions. what a combo! i think i now stink like an obsessive vampire slayer. oh well, was totes worth it. look at this:

DSCF3420

on a side note, i find the term “stuffed baked potato” quite humorous – makes me think of this fat couch potato, who got a bit stoned and ate too many snacks, thus is stuffed full of food! but maybe that’s just me…

apologies for the photos in this post. it seems the lighting in my kitchen at night isn’t so great.

totally tasty stuffed baked taters

multiply as necessary. this will make loads of humous!

(i am going to attempt to guestimate amounts – i don’t measure, sorry! also, i am not even in possession of a tablespoon. oh, the shame!)

  • 1 large potato
  • a large handful of munchrooms (or mushrooms, you choose!), chopped
  • one brown onion, sliced into rings
  • two teaspoons of nuttlex
  • a sprinkling of paprika
  • a dash of ground black pepper
  • a pinch of thyme, basil and oregano
  • salt (plenty!)
  • a couple of drops of olive oil (or canola oil, or veggie oil)
  • some soy cheese to serve (i like cheesely!)

roasted garlic humous

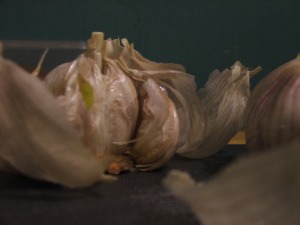
  • two heads of garlic (yes, TWO FULL HEADS!), roasted
  • 1 can chickpeas, rinsed and drained
  • three desert spoons tahini
  • juice of a whole lemon
  • lots of olive oil (better quality will = better taste!)
  • salt, cumin and paprika to taste

equipment (there’ll be a little washing up):

  • oven
  • small baking tray
  • food processor
  • small saucepan
  • small frypan
  1. pre-heat oven to 200 degrees celsius. i have an electric oven, so i pre-heat to 250 degrees, then turn it down to 200 degrees just before i put the potatoes in.
  2. wash the dirt off your potatoes. dry thoroughly, and prick the potato all over with a fork to let steam escape as your tater bakes. about 10 times will do it. this is strangely satisfying.
  3. put a drop (really, just a little) of olive oil on the potato and rub over the skin. this will help it crisp up nicely, but not burn.
  4. adjust oven temp (if needed) and place the potato directly onto the oven rack, with a tray underneath just in case there’s any drips. it’ll take between 1 – 1 1/2 hours to bake thoroughly (mine took 1 hour 25 minutes, and it was big).
  5. get out of the kitchen for half an hour.
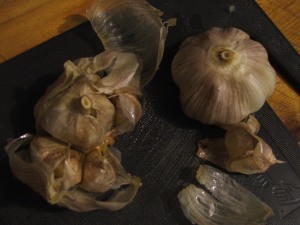
  6. place two heads of garlic on a lightly greased tray, and pop in the oven. if you leave them whole, it should take about 30 minutes for the garlic to nicely bake. this also makes it steam a little so the skins will slip straight off.
  7. return to your propaghandi sing-a-long for another 30 minutes while the oven does it’s job.
  8. remove the garlic from the oven and let it cool for 5 minutes.DSCF3415
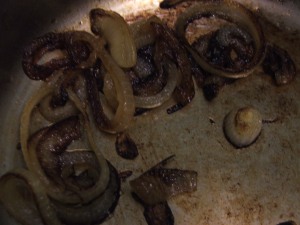
  9. melt a teaspoon of nuttlex in a small saucepan. stir in the rings of onion and sit on the heat, stirring every couple of minutes. caramelised onion requires dilligence, restraint and patience, all of which i find hard when hungry. it takes approximately 30 minutes for 0nions to properly caramelise to that brown, slightly crispy yet sweet goodness. good things come to those who wait! whilst the onion is caramelising, concentrate on making humous.DSCF3418
  10. once you can bearably touch the garlic, remove the bulbs from their skin and pop straight into the food processor. add some olive oil (3 desert spoons?) and blend for until you have garlic paste.
  11. add the chickpeas and tahini. blend again. add more olive oil if necessary!
  12. add in the papprika, cumin, tumeric, salt*, and lemon juice, then blend one last time. taste and add more flavour if needed.
  13. melt a teaspoon of nuttlex in a small frypan. stir in the sliced mushrooms and saute for a couple of minutes.
  14. once the mushrooms are slightly soft, sprinkle in the paprika, black pepper, basil, thyme and oregano. continue to saute, and add salt to taste.
  15. remove your potato from the oven. hopefully it is baked to perfection, and all your toppings are ready now!
  16. split the potato in half. place a layer of soy cheese in the middle, then spoon on the mushrooms, followed by lashings of humous and topped with the caramelised onions. because i am a garlic fiend i added an extra sprinkling of fried garlic on top:DSCF3425

in case you haven’t notice, garlic is one of my favourite foods. second only to basil on my list of faves!

DSCF3413

* do not underestimate the powers of salt! people love my humous, and i think it’s because of the copious amounts of salt, cumin and lemon juice i add.


c-c-c-cold! May 11, 2009

Filed under: brunch,home cooked — katrinacake @ 4:41 pm
Tags: , , , , , , ,

who hates this icy cold weather? me, that’s who!

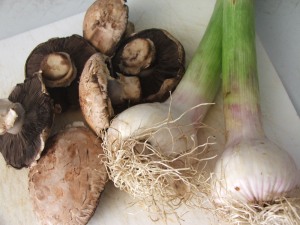
these wintery mornings are contributing to an extra sluggishness at the start of my days. the remedy? cooked breakfasts of course! i’m not afraid of hectic savory flavours in the morning – most notably garlic and shallots. delish i say!

cold morning cook-up up

ingredients:

  • splash of olive oil (or melted nuttlex)
  • two shallots, sliced (spring onions are good too, or you can use regular brown onions)
  • as much garlic as you can handle, diced
  • handful of mushrooms, sliced (the more the better!)
  • sliced firm tofu (aka stir fry tofu), approx 1cm thick – i like two slices
  • corn bread (that’s a recipe for another day!)*
  • sprinkling of sweet red paprika
  • salt and pepper to taste
  • avocado  (enough to spread – be generous)
  • lemon / lime wedge (to serve)

tofu marinade:

  • 2 tablespoons soy or tamari sauce
  • 2 tablespoons sweet chilli sauce
  • one teaspoon powdered ginger

how to:

  1. the night before, mix marinade ingredients in a bowl until combined. with a fork, stab the tofu slices a few times (this helps the marinade absorb into the middle of the tofu). place the tofu slices in the marinade and toss until marinade evenly distributed. cover the bowl and leave in the fridge overnight.
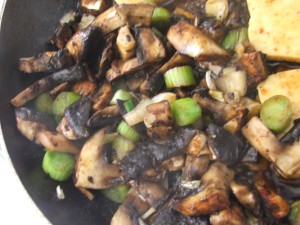
  2. in the morning, heat oil (or nuttlex) in a reasonable sized fry pan, and saute shallots for a few minutes.DSCF2259
  3. add the diced garlic and mushrooms. toss and saute for another couple of minutes.
  4. stir through the paprika, and a dash of salt and pepper.
  5. move this mixture to one side of the pan. place the pre-marinated tofu slices in the other pan. fry for 3 minutes, turning as required.DSCF2262
  6. pour the remaining marinade mixture over the tofu. if some of this mixes with the mushroom mix, that’s ok! extra flavour!
  7. take off the heat once most of the sauce has evaporated.
  8. cut two slices of cornbread and heat (in the toaster or under the grill).DSCF2266
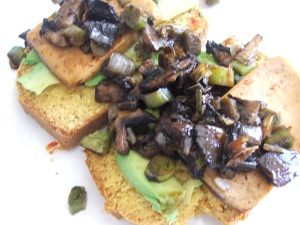
  9. to serve: spread warm bread with a generous amount of avocado. plce tofu slices on the bead, and top with the mushroom and spring onion mix. serve with a slice of lemon or lime.DSCF2267

* you could use any sort of bread here really!

a note on avocados:

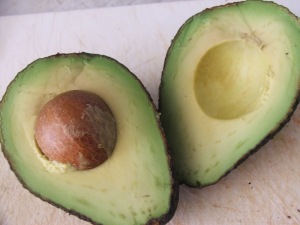
DSCF2265

these things really are delicious! i read somewhere (sorry, no reference here at all!) that if you could only eat ONE thing to keep you alive, you could survive longest on either bananas or avocados. that’s fairly awesome. i would hazard a guess and suggest that this is due to the high fat content of avocados, and the potassium in bananas.

regardless, avocados are joyously creamy and a tasty addition to almost any meal!